Paperless-ngx turns the drawer of letters, receipts and contracts into a searchable archive: drop in a scan or a PDF, it reads the text with OCR, tags it, and finds it again in a second when you need "that insurance letter from 2023". This guide runs it on your own VPS with Docker and automatic HTTPS in about 25 minutes — with a security bar to match what you'll be storing.
Using an AI coding agent? There's a ready-made prompt at the end of this guide. Copy that instead of this article.
Read this first: what you'll be keeping here
Tax returns, passport scans, medical letters, contracts. A Paperless server is one of the most sensitive things you'll ever self-host, so this guide holds it to the same bar as a password manager:
- Nothing but HTTPS reaches it. Paperless's own port is never published; Caddy is the only front door.
- One strong admin account, no open sign-ups.
- Backups that leave the server. The built-in exporter produces a portable archive of every document and its tags; we'll make one and copy it off the box. A backup that lives on the same machine as the original isn't a backup.
On sizing: OCR (reading the text in scans) is the heavy part. Orbit (4 GB) handles a household's paperwork comfortably. Flare can work with the project's low-power settings, but scans will queue.
What you'll need
- A PrivateByte VPS. We recommend Orbit ($7.99/mo: 2 vCPU, 4 GB RAM, 50 GB SSD). 50 GB holds many thousands of scanned documents.
- A domain name you control the DNS for.
- About 25 minutes.
Step 1: Deploy your VPS
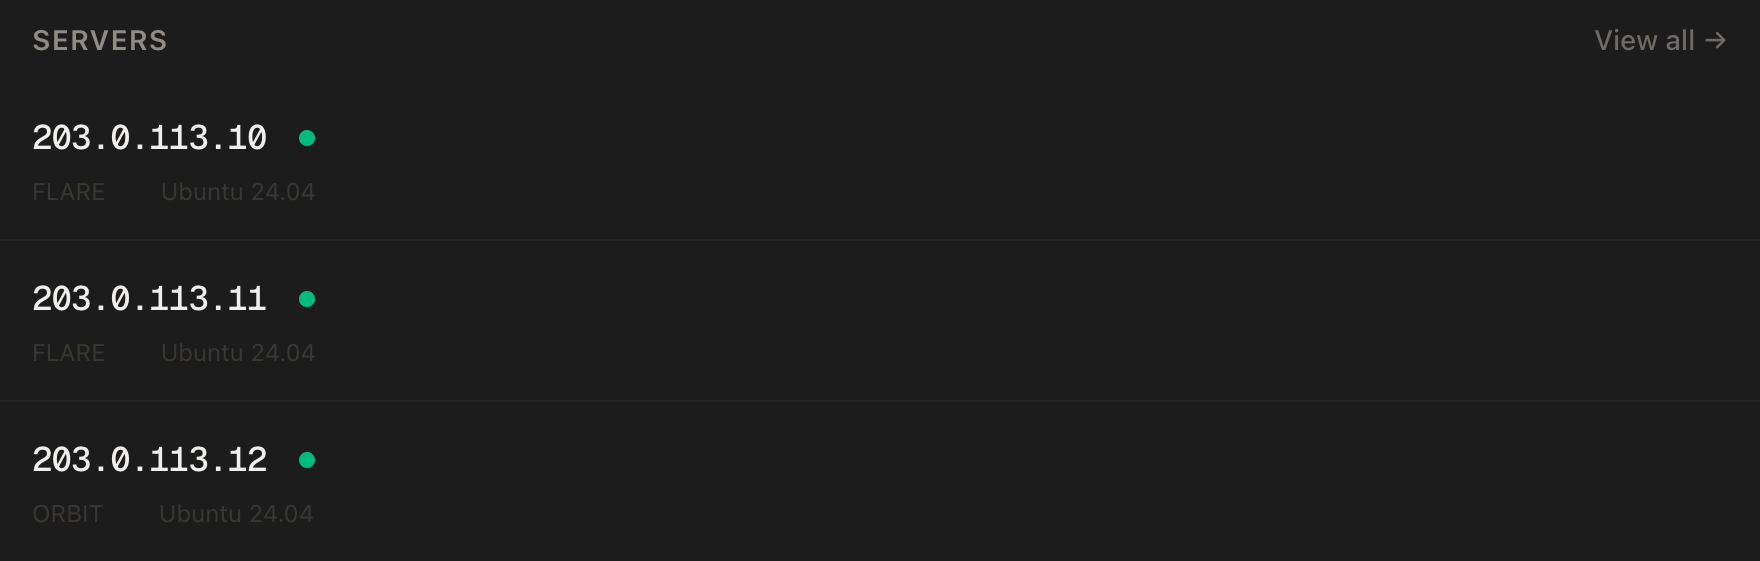
In the PrivateByte dashboard, open the store, choose Orbit, pick Ubuntu 24.04, and deploy. Ready in a few minutes.
Step 2: Point your domain at the server
| Type | Name | Value |
|---|---|---|
| A | docs |
your server's IP |
dig +short docs.yourdomain.comThat must print your server's IP before you continue.
Step 3: Connect, firewall, Docker
ssh root@YOUR_SERVER_IP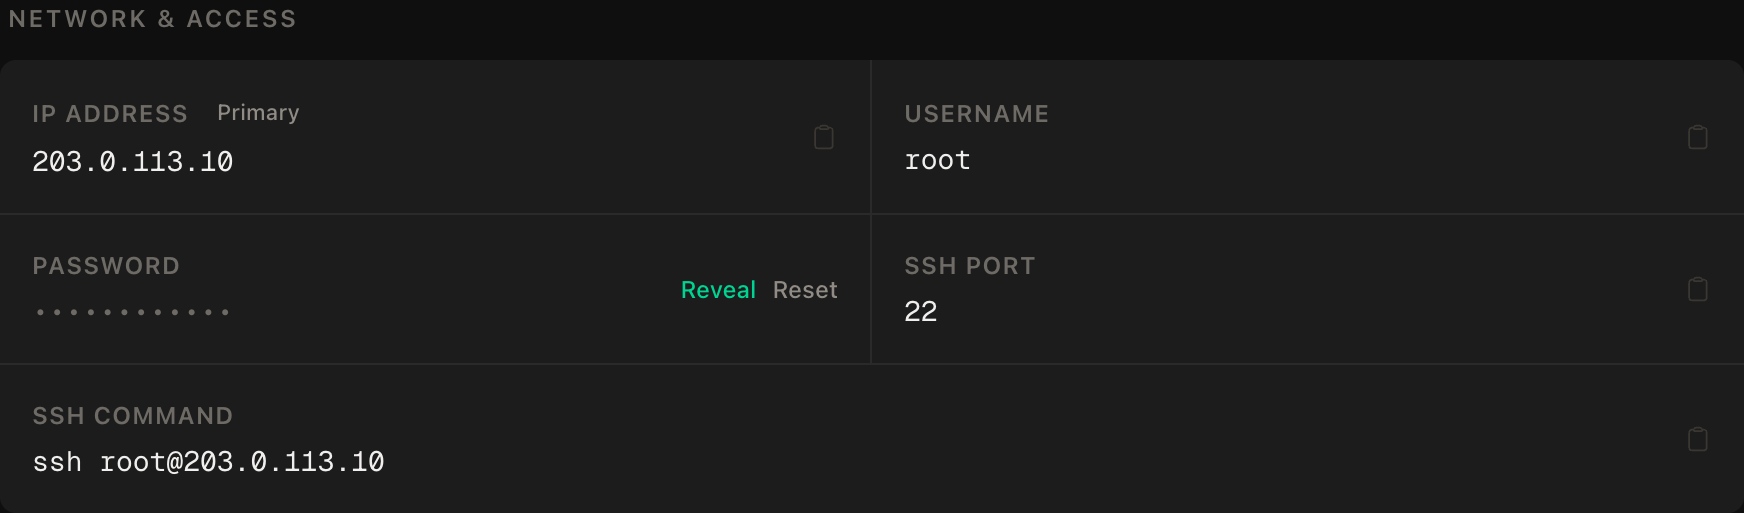
ssh command.SSH first, then the web ports, then enable:
apt update && apt upgrade -y
ufw allow OpenSSH
ufw allow 80/tcp
ufw allow 443/tcp
ufw --force enable
curl -fsSL https://get.docker.com | sh
systemctl enable --now docker
Port 8000 — Paperless's own — stays closed.
Step 4: The secrets
mkdir -p ~/paperless/{consume,export} && cd ~/paperless
nano docker-compose.envPAPERLESS_URL=https://docs.yourdomain.com
PAPERLESS_SECRET_KEY=CHANGE_ME_long_random_string
PAPERLESS_TIME_ZONE=Europe/London
PAPERLESS_OCR_LANGUAGE=eng
PAPERLESS_DBPASS=CHANGE_ME_database_passwordGenerate the two random values with openssl rand -hex 32 (run it twice). Set the time zone and OCR language to yours (deu, fra, spa… — language codes are three letters). Then:
chmod 600 docker-compose.envStep 5: The compose file
nano docker-compose.ymlservices:
broker:
image: docker.io/valkey/valkey:9-alpine
restart: unless-stopped
volumes:
- redisdata:/data
db:
image: docker.io/library/postgres:18
restart: unless-stopped
volumes:
- pgdata:/var/lib/postgresql
environment:
POSTGRES_DB: paperless
POSTGRES_USER: paperless
POSTGRES_PASSWORD: ${PAPERLESS_DBPASS}
webserver:
image: ghcr.io/paperless-ngx/paperless-ngx:latest
restart: unless-stopped
depends_on:
- db
- broker
volumes:
- data:/usr/src/paperless/data
- media:/usr/src/paperless/media
- ./export:/usr/src/paperless/export
- ./consume:/usr/src/paperless/consume
env_file: docker-compose.env
environment:
PAPERLESS_REDIS: redis://broker:6379
PAPERLESS_DBHOST: db
PAPERLESS_DBENGINE: postgresql
caddy:
image: caddy:2-alpine
restart: unless-stopped
ports:
- "80:80"
- "443:443"
volumes:
- ./Caddyfile:/etc/caddy/Caddyfile:ro
- caddy_data:/data
- caddy_config:/config
volumes:
data:
media:
pgdata:
redisdata:
caddy_data:
caddy_config:This is the project's own PostgreSQL compose file with two changes: the webserver has no ports: section (only Caddy faces the internet), and the database password comes from your secrets file instead of the sample paperless. So Compose can read ${PAPERLESS_DBPASS}, link the file:
ln -s docker-compose.env .envAnd the Caddyfile:
nano Caddyfiledocs.yourdomain.com {
reverse_proxy webserver:8000
}Step 6: Start it and create the admin
docker compose up -d
docker compose logs caddy | tail -20
docker compose run --rm webserver createsuperuser
The last command asks for a username, email and password. Make the password long and put it in your password manager — this account can read everything. Then open https://docs.yourdomain.com and log in.
Step 7: Add documents
Three ways in:
- Drag and drop onto the web dashboard.
- The consume folder: anything copied into
~/paperless/consumeis picked up, OCR'd and filed automatically. From your laptop:scp scan.pdf root@YOUR_SERVER_IP:~/paperless/consume/. - The mobile apps (community-built, several on each store) scan with your phone camera and upload straight in.
Within a minute or two of adding a document, search for a word that's only printed inside it. That's OCR working.
Step 8: Backups that leave the box
docker compose exec -T webserver document_exporter ../export
ls ~/paperless/export
The exporter writes every original document plus a manifest of titles, tags and dates — a complete, portable archive you could import into a fresh install. Now copy it off the server, from your own machine:
rsync -avz root@YOUR_SERVER_IP:~/paperless/export/ ./paperless-backup/To make the export nightly, add a root cron line on the server:
0 3 * * * cd /root/paperless && /usr/bin/docker compose exec -T webserver document_exporter ../export >> /root/paperless/export.log 2>&1…and schedule the rsync on a machine you own. PrivateByte's daily server backups sit underneath as a catch-all, but the off-box export is the one that saves you if you ever lose the account or the server.
Verify it works
OCR works. Upload a scanned page and search for a word from its body text. It must be found.
The consume folder works. Copy a PDF into consume; within a couple of minutes it's gone from the folder and in the dashboard.
The negative control: Paperless isn't exposed directly. From your own machine:
curl -m 5 http://YOUR_SERVER_IP:8000This must fail. If it answers, the webserver has a published port — remove it before storing anything real.
Restore in principle. ls ~/paperless/export shows your documents and a manifest.json. A backup you've never looked at is a hope.
It survives a reboot. reboot, wait a minute, log in again.
Troubleshooting
Certificate errors. dig +short docs.yourdomain.com must return your IP, 80 and 443 must be open, and docker compose logs caddy says what failed.
"CSRF verification failed" when logging in. PAPERLESS_URL doesn't match the address in your browser exactly — include https://, no trailing slash.
Documents sit in the queue for ages. OCR is CPU-bound. On Flare, set PAPERLESS_TASK_WORKERS=1 and PAPERLESS_OCR_PAGES=1 (first page only) in the env file, or move to Orbit.
Search can't find text you can see in the scan. Wrong OCR language — set PAPERLESS_OCR_LANGUAGE to the document's language (you can list several, like eng+deu) and re-process from the document's menu.
Database won't start after you changed the password. Postgres sets its password only on first start. If you change PAPERLESS_DBPASS later, change it inside the database too, or you've locked Paperless out.
Do it with an AI agent
If you'd rather hand this to Claude Code, Cursor, or another coding agent, don't paste the article at it. Articles are written for humans, and agents skim the warnings and lose the ordering. Copy this instead, and run it from your own machine with your agent able to SSH out.
Prompt for an AI agent
Set up Paperless-ngx on a fresh Ubuntu 24.04 VPS with Docker (the project's
PostgreSQL compose layout) behind Caddy for automatic HTTPS, with Paperless's
own port never published and an off-box export backup.

FILL IN BEFORE YOU START:
- SERVER_IP = <VPS IP from the PrivateByte dashboard>
- DOMAIN    = <e.g. docs.example.com>
- TIMEZONE  = <IANA name, e.g. Europe/London>
- OCR_LANG  = <three-letter code, e.g. eng>
- The secret key, database password and admin password are MINE.

WHAT TO DO:
1. FIRST, "dig +short DOMAIN" must return SERVER_IP. If not, STOP.
2. SSH to root@SERVER_IP. Confirm Ubuntu 24.04 and report "free -m".
3. apt update && apt upgrade -y. Firewall in THIS ORDER: ufw allow OpenSSH;
   ufw allow 80/tcp; ufw allow 443/tcp; ufw --force enable. Not 8000.
4. Install Docker from https://get.docker.com.
5. mkdir -p ~/paperless/{consume,export}. Write ~/paperless/docker-compose.env
   with PAPERLESS_URL=https://DOMAIN, PAPERLESS_TIME_ZONE, PAPERLESS_OCR_LANGUAGE,
   and PAPERLESS_SECRET_KEY / PAPERLESS_DBPASS set to the literal "CHANGE_ME".
   chmod 600, and ln -s docker-compose.env .env.
6. STOP. Tell me to replace both CHANGE_ME values with "openssl rand -hex 32"
   output myself. WAIT.
7. Write docker-compose.yml: broker valkey/valkey:9-alpine; db postgres:18
   with POSTGRES_PASSWORD ${PAPERLESS_DBPASS}; webserver
   ghcr.io/paperless-ngx/paperless-ngx:latest with the data/media volumes,
   ./export and ./consume binds, env_file docker-compose.env,
   PAPERLESS_REDIS redis://broker:6379, PAPERLESS_DBHOST db,
   PAPERLESS_DBENGINE postgresql, and NO ports section; caddy:2-alpine on 80/443.
   Caddyfile: DOMAIN { reverse_proxy webserver:8000 }
8. docker compose up -d. Then STOP and tell me to run
   "docker compose run --rm webserver createsuperuser" myself. WAIT.
9. Add root cron: 0 3 * * * cd /root/paperless && /usr/bin/docker compose exec
   -T webserver document_exporter ../export >> /root/paperless/export.log 2>&1

RULES:
- Never print, cat or log docker-compose.env or .env after I edit them.
- The webserver must not publish port 8000. Ever.
- Never create the admin account or choose its password.
- The ufw ordering is not optional.
- Nothing destructive. If ~/paperless exists, STOP and ask.

VERIFY, AND SHOW ME THE OUTPUT OF EACH:
- "docker compose ps" -> all four services running
- "docker compose logs caddy | tail -20" -> certificate obtained
- "curl -sI https://DOMAIN" -> 200 or a redirect to the login page
- THE NEGATIVE CONTROL, from MY machine: "curl -m 5 http://SERVER_IP:8000"
  -> MUST fail. If it answers, stop.
- run the exporter once; "ls ~/paperless/export" -> documents + manifest.json
- reboot, wait 60 s, "docker compose ps" -> everything back

Do not tell me a step succeeded without showing the command output that proves
it. If a verification fails, stop and report the actual error. Do not retry
silently and do not improvise a workaround.
Two things in that prompt are worth stealing for your own agent work. Every secret on this box — the key, the database password, the admin login — is created by you, because the agent building your document vault should never have been able to read it. And the backup check is an artefact check: the export directory has to contain documents and a manifest, since "the cron job exists" and "a backup exists" are different claims.
If your archive is mostly photos, Immich is the better tool, and Nextcloud covers files and sync around it. The passwords that guard all of it belong in Vaultwarden.
Deploy your VPS
Every document you own, searchable in a second, on a server only you can reach, with a backup copy sitting on your own machine — that's the paperless office without handing your paperwork to anyone.
The Orbit plan gives OCR the headroom it wants and 50 GB for the archive.
- Unmetered bandwidth, no overage
- Free DDoS protection
- Daily automated backups
- Browser console access
Common questions
Is Paperless-ngx free? Yes — it's open source, with no paid tier. You pay for the server.
How much storage do I need? Scanned pages are typically a few hundred KB each after processing. 50 GB holds a household's paperwork for many years; the originals plus Paperless's archived copies are what take the space.
Can I scan straight from my phone? Yes — several community mobile apps upload into Paperless, and anything that can save a file to a folder can use the consume directory via a sync tool.
Is it safe to put ID documents on a VPS? It's as safe as the setup: HTTPS only, no published internal ports, a strong admin, and backups off the box. That's the bar this guide sets. Encrypt the off-box copy too if it sits on a laptop.
Can I import from another system? Paperless ingests PDFs, images and (with the optional Tika add-on) office documents. Dump the files into the consume folder and it processes them in the background.