Self-hosting your photos with Immich gives you a Google Photos-style timeline, face and object search, and phone auto-backup — running on a server you own, with no storage subscription and no scanning of your library. This guide gets it running with automatic HTTPS in about 30 minutes. It also starts with the part most guides skip: whether a VPS is the right place for your photos at all.
Using an AI coding agent? There's a ready-made prompt at the end of this guide. Copy that instead of this article.
Two things to know before you start
Immich should not be the only copy of your photos. The project says so itself: it is under very active development and breaking changes happen. It is genuinely good software and it is not a backup strategy. Keep your originals somewhere else as well — an external drive, another cloud, anything. Photos are the one category of file that cannot be regenerated, and a self-hosted photo server is exactly where people discover that too late.
A VPS is not the cheapest place to store a large library. This matters more than the RAM question. Our largest standard plan gives you 100 GB. If you have 400 GB of phone photos, a VPS is the wrong tool and a home NAS is the right one — you'll pay once for far more space.
A VPS genuinely wins when:
- You want access from anywhere without exposing your home network to the internet.
- You want phone auto-backup of recent photos rather than an archive of everything.
- You keep a curated library rather than every burst shot since 2011.
- You don't have somewhere safe, always-on and reliably powered to put a machine.
If that's you, this is a genuinely great setup. If you're trying to store half a terabyte, buy a NAS and come back for one of our other guides.
What you'll need
- A PrivateByte VPS. We recommend Comet ($15.99/mo: 4 vCPU, 8 GB RAM, 100 GB SSD). The 100 GB is your real constraint, not the RAM.
- A domain name you control the DNS for.
- About 30 minutes, plus upload time for your library.
- The Immich mobile app if you want phone backup.
On RAM. Immich runs Postgres, Redis, the server and a machine-learning container that does face and object recognition. That last one is the memory-hungry part. Orbit (4 GB) works if you disable machine learning or accept slow first-time indexing; Comet at 8 GB is the comfortable size. Flare at 2 GB is not enough — don't.
Step 1: Deploy your VPS
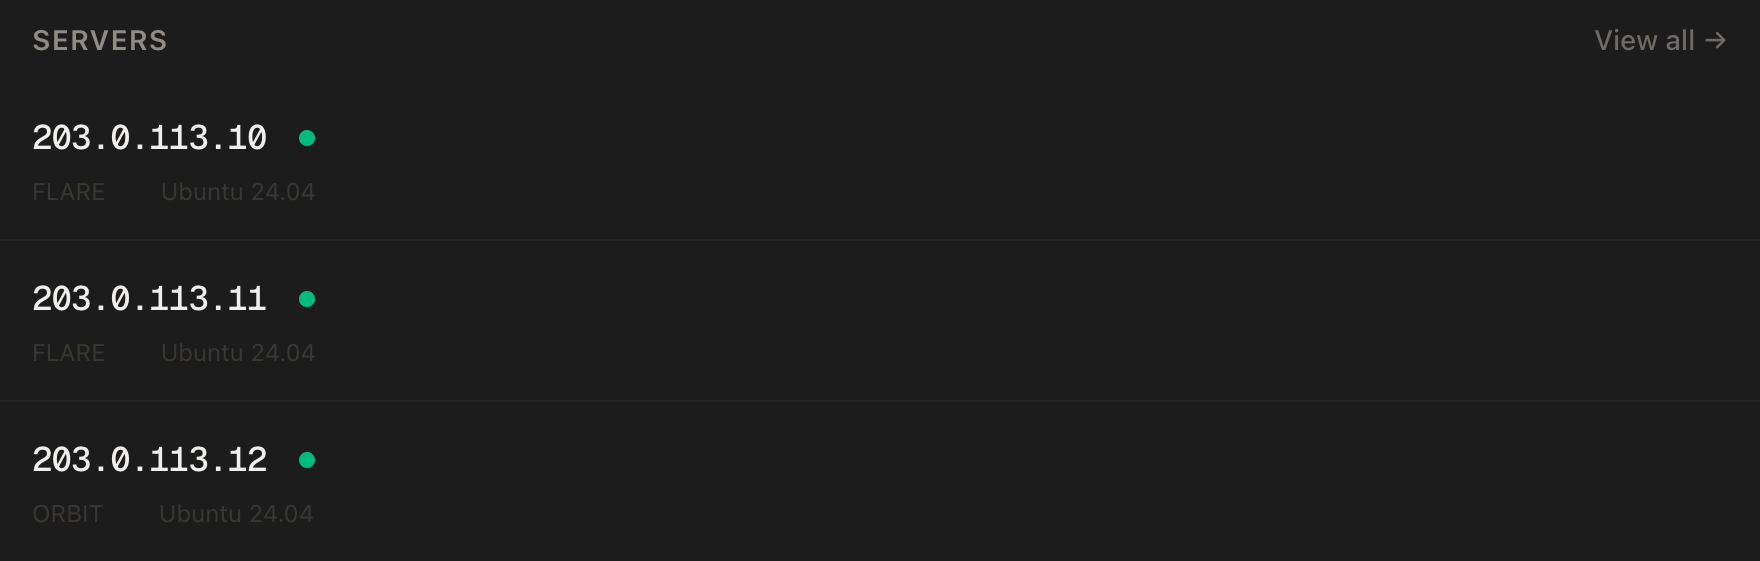
In the PrivateByte dashboard, open the store, choose Comet, pick Ubuntu 24.04, and deploy. Ready in a few minutes.
Step 2: Point your domain at the server
Do this first — DNS takes a few minutes and the certificate step fails without it.
| Type | Name | Value |
|---|---|---|
| A | photos |
your server's IP |
dig +short photos.yourdomain.comThat must print your server's IP before you continue.
Step 3: Connect over SSH
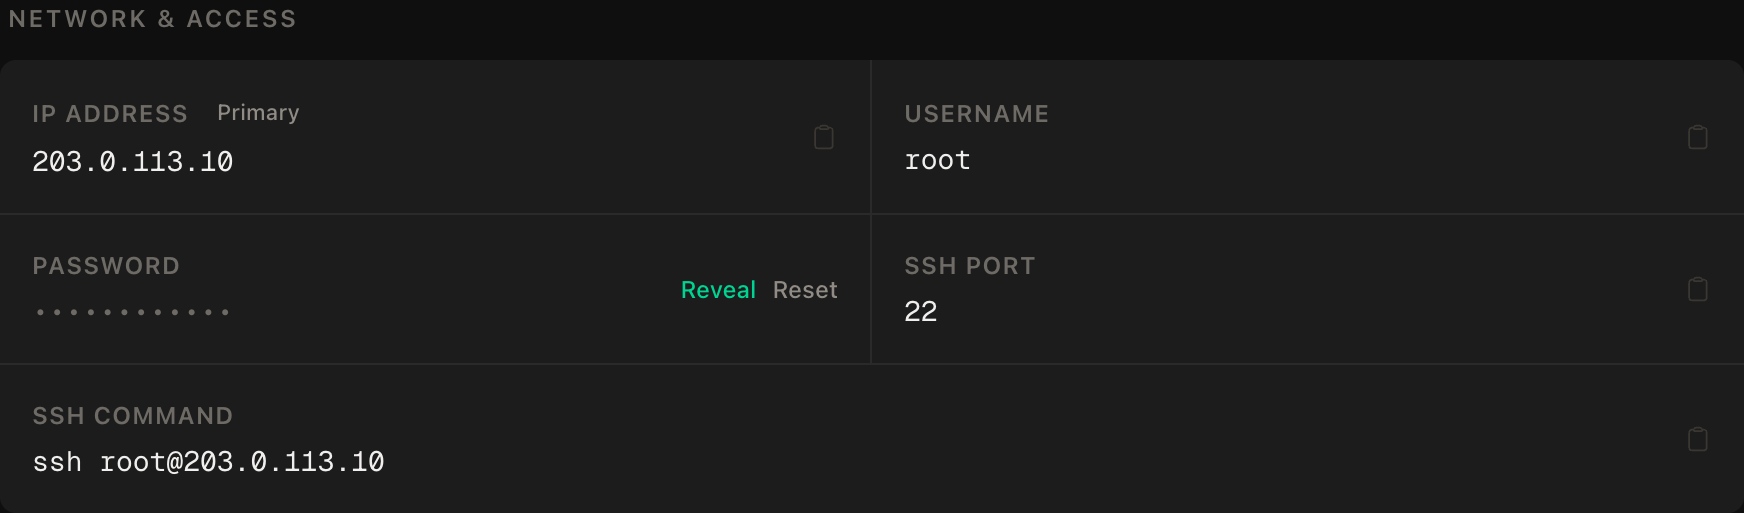
ssh root@YOUR_SERVER_IPWindows users: PowerShell has ssh built in, or use PuTTY. The dashboard also has a browser console if you'd rather install nothing.
ssh command.Step 4: Install Docker
apt update && apt upgrade -y
curl -fsSL https://get.docker.com | sh
systemctl enable --now docker
docker --version
Step 5: Set up the firewall
SSH first, then the web ports, then enable. Wrong order locks you out:
ufw allow OpenSSH
ufw allow 80/tcp
ufw allow 443/tcp
ufw --force enable
ufw status
Port 2283 — Immich's own port — stays closed. Step 7 makes sure Immich is only reachable through the HTTPS proxy.
Step 6: Download Immich's official files
Immich ships a compose file and an example environment file with every release. Take them from the release rather than copying a compose file out of a blog post, because the service definitions change between versions:
mkdir -p ~/immich && cd ~/immich
wget -O docker-compose.yml https://github.com/immich-app/immich/releases/latest/download/docker-compose.yml
wget -O .env https://github.com/immich-app/immich/releases/latest/download/example.env
Step 7: Configure it
nano .envSet these four:
UPLOAD_LOCATION=./library
DB_DATA_LOCATION=./postgres
DB_PASSWORD=PASTE_A_GENERATED_PASSWORD_HERE
TZ=Europe/London
Generate the database password with hex, not base64:
openssl rand -hex 24This is the trap in this install. Immich documents that DB_PASSWORD must contain only the characters A-Za-z0-9. The openssl rand -base64 32 you'll have seen in other guides — including our own n8n one, where it's fine — emits +, / and =, and those break the database connection in a way that surfaces as an unhelpful startup loop rather than a message about the password.
DB_DATA_LOCATION cannot be a network share. Postgres needs real local filesystem semantics; put it on the server's own disk. UPLOAD_LOCATION is where the photos themselves go, and it's the directory you'll be backing up.
Lock the file down, since it now holds a database password:
chmod 600 .envNow stop Immich publishing its port to the world. Open the compose file:
nano docker-compose.ymlFind the immich-server service and comment out its ports: block — the two lines will look roughly like this:
    # ports:
    #   - '2283:2283'
Then add Caddy at the end of the file, as a new service alongside the others:
  caddy:
    image: caddy:2-alpine
    restart: always
    ports:
      - '80:80'
      - '443:443'
    volumes:
      - ./Caddyfile:/etc/caddy/Caddyfile:ro
      - caddy_data:/data
      - caddy_config:/config
And add the two Caddy volumes to the volumes: block at the bottom of the file:
  caddy_data:
  caddy_config:
Because Caddy is in the same compose project, it shares a network with Immich and can reach it by service name — which is exactly why commenting out the published port costs nothing.
Finally the Caddyfile:
nano Caddyfilephotos.yourdomain.com {
reverse_proxy immich-server:2283
}Two lines that would be considerably longer on nginx. Caddy passes the WebSocket Upgrade headers Immich needs without being asked, and — the one that actually bites people — Caddy has no default limit on request body size, while nginx caps it at 1 MB and rejects every photo you try to upload until you raise client_max_body_size.
Step 8: Start it
docker compose up -d
docker compose ps
First start pulls several gigabytes of images and takes a few minutes. Then check the certificate:
docker compose logs caddy | tail -20Repeated certificate failures usually mean DNS hasn't propagated. Wait, then docker compose restart caddy.
Verify it works
Open https://photos.yourdomain.com. You get Immich's setup screen with a valid padlock. The first account you create is the administrator.
Upload a photo through the web interface. Then upload a large video — this is the check worth doing deliberately, because large uploads are where reverse-proxy setups fail, and finding out during your first real library sync is much worse.
Now connect your phone. Install the Immich app, enter https://photos.yourdomain.com as the server URL, sign in, and enable backup. Confirm a photo taken on the phone appears in the web timeline.
Then prove your data is where you think it is:
du -sh ~/immich/libraryThat directory is the one that matters. If it's growing as you upload, your photos are on disk where you can back them up.
Finally, confirm it survives a reboot:
rebootWait a minute or two — Immich takes longer to come back than a small app — then reload the site.
Back it up properly
Two separate things, and people back up only the first:
| What | Why |
|---|---|
UPLOAD_LOCATION (~/immich/library) |
The photos themselves. Irreplaceable. |
| The database | The albums, faces, people and metadata. Replaceable only by re-doing years of tagging. |
Dump the database properly rather than copying its files:
docker compose exec -T database pg_dumpall --clean --if-exists --username=postgres > ~/immich/immich-db.sqlThen pull both off the server, from your local machine:
rsync -avz root@YOUR_SERVER_IP:~/immich/library/ ./immich-library/
scp root@YOUR_SERVER_IP:~/immich/immich-db.sql .
PrivateByte takes daily automated backups of the whole server, which covers a dead disk. It does not cover you deleting an album, so keep your own copy too — and remember the point from the top of this guide: this should not be the only place your photos exist.
Troubleshooting
Containers restart in a loop right after the first start. Almost always DB_PASSWORD containing a character outside A-Za-z0-9. Regenerate it with openssl rand -hex 24. Because the database initialised with the old value, you'll need to remove the DB_DATA_LOCATION directory and start again — do this before you upload anything.
Uploads fail, or stop at 100% and never finish. Large uploads timing out at the proxy. Caddy is more forgiving here than nginx, but very large videos on a slow connection can still hit it. Try a smaller file to confirm that's what you're seeing.
Everything works in the browser but the phone app can't connect. The server URL in the app must be the full https:// address including the scheme. Also check you're not typing the IP — the certificate is issued to the hostname.
Face recognition never runs, or the machine-learning container keeps dying. It ran out of memory. Check docker stats and free -m. This is the sizing note from the top arriving in person; move to Comet, or disable machine learning in Immich's admin settings.
The disk fills up. Predictable and worth watching from day one: df -h. Photos do not stop arriving. Immich also keeps generated thumbnails, which add meaningfully on top of the originals.
An update broke something. Immich moves fast and occasionally requires manual steps between versions. Read the release notes before docker compose pull, and take the database dump above first.
Do it with an AI agent
If you'd rather hand this to Claude Code, Cursor, or another coding agent, don't paste the article at it. Articles are written for humans, and agents skim the warnings and lose the ordering. Copy this instead, and run it from your own machine with your agent able to SSH out.
Prompt for an AI agent
Set up Immich (a self-hosted photo library) on a fresh Ubuntu 24.04 VPS, behind
HTTPS, using Docker and Caddy.

FILL IN BEFORE YOU START:
- SERVER_IP = <VPS IP from the PrivateByte dashboard>
- DOMAIN    = <the subdomain, e.g. photos.example.com>
- TIMEZONE  = <IANA name, e.g. Europe/London>

WHAT TO DO:
1. FIRST, run "dig +short DOMAIN" and confirm it returns SERVER_IP. If not, STOP
   and tell me — the certificate step will fail and everything after is wasted.
2. SSH to root@SERVER_IP. Confirm Ubuntu 24.04. Run "df -h" and "free -m" and
   tell me the free disk and RAM before doing anything else.
3. apt update && apt upgrade -y. Install Docker from https://get.docker.com and
   enable the service.
4. Firewall, in THIS EXACT ORDER:
       a) ufw allow OpenSSH
       b) ufw allow 80/tcp
       c) ufw allow 443/tcp
       d) ufw --force enable
   Do NOT open port 2283.
5. mkdir ~/immich, then download Immich's OFFICIAL files into it:
       wget -O docker-compose.yml https://github.com/immich-app/immich/releases/latest/download/docker-compose.yml
       wget -O .env https://github.com/immich-app/immich/releases/latest/download/example.env
   Do not write your own compose file. Immich's service definitions change
   between releases and a hand-written one will be wrong.
6. Edit .env: UPLOAD_LOCATION=./library, DB_DATA_LOCATION=./postgres,
   TZ=TIMEZONE, and DB_PASSWORD generated with "openssl rand -hex 24".
   The password MUST be hex. Immich requires DB_PASSWORD to contain only
   A-Za-z0-9, and base64 output contains + / = which breaks the database with a
   misleading startup loop rather than a clear error. chmod 600 .env.
7. In docker-compose.yml, comment out the "ports:" block on the immich-server
   service so it is not published to the host, and append a caddy service
   (caddy:2-alpine, ports 80 and 443, ./Caddyfile mounted read-only, named
   volumes caddy_data and caddy_config). Add those two volumes to the volumes
   block at the bottom.
8. Create ~/immich/Caddyfile containing:
       DOMAIN { reverse_proxy immich-server:2283 }
9. docker compose up -d. The first pull is several GB; wait for it.
10. Tell me to open https://DOMAIN and create the first account, which becomes
    the administrator. WAIT for me to confirm.

RULES:
- Never print or log DB_PASSWORD. To check it is set, check it is non-empty.
- The ufw ordering in step 4 is not optional. Enabling the firewall before
  allowing OpenSSH locks me out of my own server.
- Do not use "openssl rand -base64" for DB_PASSWORD. See step 6.
- Nothing destructive. If ~/immich exists or containers are running, STOP and
  ask. NEVER delete UPLOAD_LOCATION or DB_DATA_LOCATION — that is my photo
  library and it may be the only copy.
- Do not upload, move, delete or reorganise any photos. That is mine to do.
- Do not change Immich's machine-learning settings without asking.

VERIFY, AND SHOW ME THE OUTPUT OF EACH:
- "docker compose ps" -> all services running, none restarting
- "docker compose logs caddy | tail -20" -> certificate obtained, no repeated
  failures
- "curl -sI https://DOMAIN" -> HTTP 200, TLS handshake succeeded
- "docker compose logs immich-server | tail -30" -> no repeating database
  connection errors. If you see those, the DB_PASSWORD character set is the
  first thing to suspect, not the network.
- "du -sh ~/immich/library" -> exists, and grows after I upload a test photo
- THE NEGATIVE CONTROL, run from MY machine, not the server:
      curl -m 5 http://SERVER_IP:2283
  -> this MUST fail or time out. If it answers, Immich is exposed directly and
  the firewall or the ports change did not take. Stop and tell me.
- reboot, wait 90 seconds, then "docker compose ps" and "curl -sI https://DOMAIN"
  -> everything back up on its own

Do not tell me a step succeeded without showing the command output that proves
it. If a verification fails, stop and report the actual error. Do not retry
silently and do not improvise a workaround, especially around the firewall or
anything that touches the library directory.
Two things in that prompt are worth stealing for your own agent work. It forbids the agent from touching the library directory in any circumstance, because "clean up and retry" is a reasonable-sounding instinct that here destroys irreplaceable data. And it tells the agent which failure to suspect first when the database won't connect — an agent given a symptom and no hypothesis will happily spend twenty minutes on the network before checking the password's character set.
The Docker, Caddy and automatic-HTTPS pattern here is the same one used for self-hosting n8n. If you'd rather point a domain at something you built yourself, see deploying a Node app with a domain and HTTPS.
Deploy your VPS
If you've read the honest bit at the top and a VPS still fits how you use photos, Immich is one of the most satisfying things you can self-host. Your library, your server, no subscription that scales with how many pictures you take.
The Comet plan is the right size: 8 GB of RAM for the machine-learning container, and 100 GB of SSD for the library itself.
- Unmetered bandwidth, no overage
- Free DDoS protection
- Daily automated backups
- Browser console access
Common questions
Is Immich a real replacement for Google Photos? For the timeline, albums, sharing, search, face recognition and phone auto-backup, yes — it's remarkably close. What you take on is the operations: updates, backups and disk space are now yours. That's the actual trade, not features.
How much storage do I actually need? Roughly 3–5 MB per phone photo and 50–100 MB per minute of 4K video, plus about 10–20% on top for the thumbnails Immich generates. Check what your current library uses before you pick a plan — it's the number that decides whether this is a good idea.
Can my family use it? Yes. Create accounts for them in the admin panel and share albums between users. Each person gets their own timeline and their own phone backup.
What happens when Immich releases a breaking change?
Read the release notes before updating, and take a database dump first. The project is explicit that it's under heavy development. Pinning IMMICH_VERSION in .env to a known-good release is reasonable if you'd rather update deliberately than automatically.
Is my library private? Nothing leaves your server. Face and object recognition run locally in the machine-learning container, not through any external API — which is part of why it wants the RAM.