Self-hosting Coolify gives you a Heroku-style panel on your own VPS: connect a Git repo, push, and your app builds and goes live on HTTPS. This guide installs it, closes the one dangerous gap in the install, then deploys a Node app and a database and schedules backups, in about 45 minutes.
Using an AI coding agent? There's a ready-made prompt at the end of this guide. Copy that instead of this article.
What Coolify is, and what it costs you
Coolify is not an app you run. It is a control plane: a dashboard and API with its own database, a Redis cache, a realtime server and a reverse proxy, all in Docker. Its job is to build and run your apps as containers on this server or others.
That costs RAM before your first app exists. Coolify publishes no idle figure; third-party measurements range from a few hundred megabytes to around 770 MB, and builds spike higher. The official minimum is 2 CPU, 2 GB RAM and 10 GB of disk, which describes the dashboard alone. On 2 GB you have a dashboard and very little else.
The second trade-off matters more. Coolify manages the server over SSH with a key it generates, and controls Docker on it. So whoever controls the dashboard controls the server. That is our inference from how it works, not a docs statement, but treat it as true. Hence the care over first login, two-factor and ports.
What you'll need
- A PrivateByte VPS. We recommend Comet ($15.99/mo: 4 vCPU, 8 GB RAM, 100 GB SSD). Room for the control plane, a build, a Node app, a database and one more service. Orbit ($7.99/mo: 2 vCPU, 4 GB RAM, 50 GB SSD) can host Coolify plus one or two light apps, but a big
npm installcan squeeze it. Flare meets the minimum and nothing more. - A domain you control DNS for. You need two names: one for the dashboard, one for your app.
- A GitHub account (or GitLab, Bitbucket, Gitea) with a Node project.
- An S3-compatible bucket and keys, for backups.
Coolify recommends Ubuntu LTS, so we use Ubuntu 24.04.
Step 1: Deploy your VPS
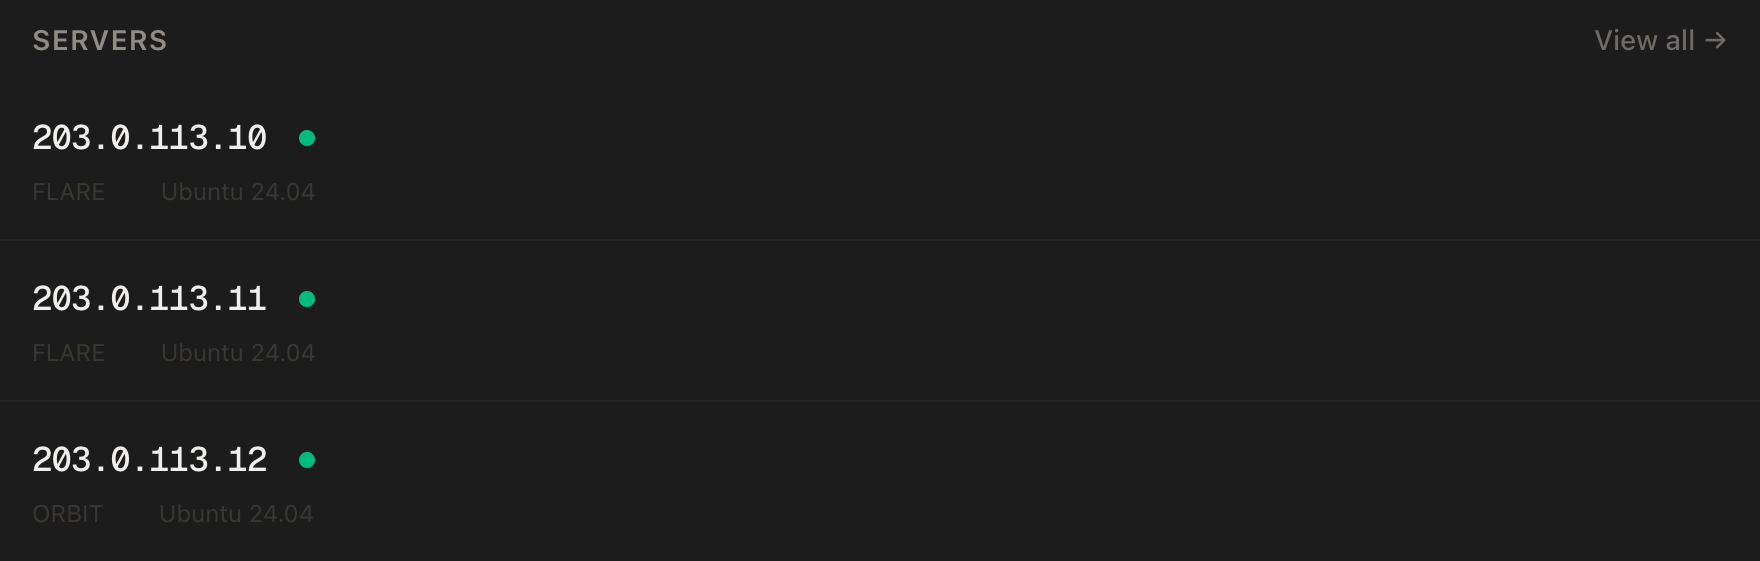
In the PrivateByte dashboard, open the store, choose Comet, pick Ubuntu 24.04, and deploy. Usually ready in a few minutes.
Step 2: Point two names at the server
| Type | Name | Value |
|---|---|---|
| A | coolify |
your server's IP |
| A | app |
your server's IP |
dig +short coolify.yourdomain.com
dig +short app.yourdomain.com
Both must print your server's IP before you continue. Let's Encrypt needs both to resolve.
Step 3: Connect and prepare the firewall
ssh root@YOUR_SERVER_IP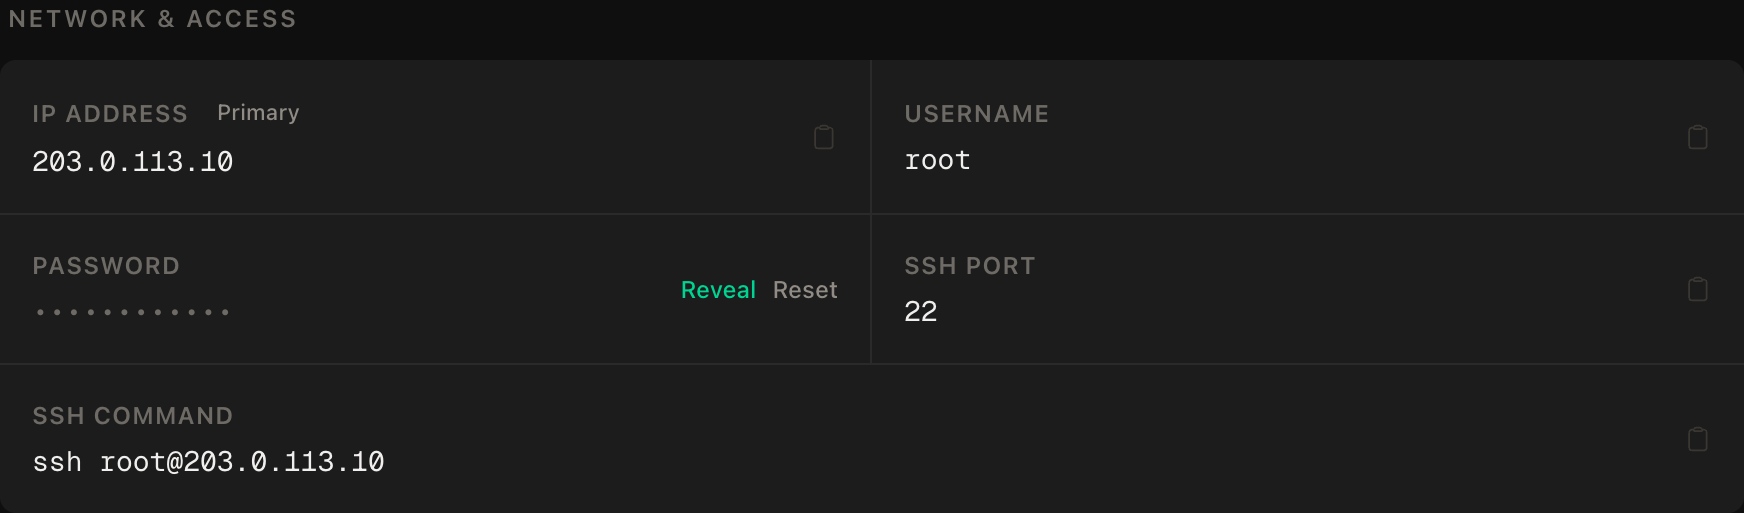
ssh command.Coolify uses 22 (SSH), 80 and 443 (proxy), 8000 (dashboard), 6001 (realtime updates) and 6002 (web terminal). SSH goes first so you cannot lock yourself out:
apt update && apt upgrade -y
ufw allow OpenSSH
ufw allow 80/tcp
ufw allow 443/tcp
ufw allow 8000/tcp
ufw allow 6001/tcp
ufw allow 6002/tcp
ufw --force enable
We close 8000, 6001 and 6002 in Step 6, once the dashboard has a domain; Coolify's docs say you can then.
Step 4: Install Coolify
The installer needs root and, per Coolify's docs, a fresh server is best. It installs Docker Engine if it is missing, creates the /data/coolify directory tree, generates an SSH key and registers it, creates a Docker network, and starts the Coolify containers.
curl -fsSL https://cdn.coollabs.io/coolify/install.sh | bashThat pipes a script into a root shell. It is the documented route; download and read it first if you prefer. When it finishes, do not wander off yet.
Step 5: Create the admin account immediately
Open http://YOUR_SERVER_IP:8000 right away.
The first visitor to the registration page becomes the instance admin. Coolify's docs say so directly: anyone who reaches the page first can become the admin. A stranger who registers first owns your server.
Register now, with a long password from your password manager, before you do anything else. If you cannot be at the keyboard the moment the install finishes, skip opening 8000 in Step 3 and tunnel instead:
ssh -L 8000:127.0.0.1:8000 root@YOUR_SERVER_IPThen browse to http://localhost:8000. Onboarding offers to connect the local server, the machine Coolify runs on. Accept, and turn on two-factor in your profile.
Then do the other thing the docs insist on: back up /data/coolify/source/.env. It holds the encryption key (APP_KEY) that decrypts every credential Coolify stores. Without it, a restored database is unreadable.
cat /data/coolify/source/.envCopy it into your password manager. This prints secrets, so do it privately.
Step 6: Give the dashboard a domain and automatic HTTPS
In Coolify, open Settings and find the Instance's Domain field. Enter the full URL including the scheme: https://coolify.yourdomain.com. Save.
Coolify's default reverse proxy is Traefik, running as the coolify-proxy container on ports 80 and 443. It requests and renews Let's Encrypt certificates from the domains you enter, so there is no certificate file for you to manage. Give it a minute, then confirm the padlock.
Only now close the direct ports:
ufw delete allow 8000/tcp
ufw delete allow 6001/tcp
ufw delete allow 6002/tcp
Here is a trap: ports Docker publishes can bypass ufw, so that rule may not be what keeps people out. Test from your own machine:
curl -m 5 http://YOUR_SERVER_IP:8000This must time out or be refused. If it answers, you need a firewall in front of Docker. Fix that first.
Step 7: Connect Git and deploy a Node app
Coolify reads repositories three ways: a public repository by HTTPS URL, a deploy key for one private repo, or a GitHub App, which the docs call the most complete: you choose which repos Coolify may clone, and it enables push deploys and pull-request previews.
For your own project, use the GitHub App. Choose New Resource, pick the repository, then a build pack: Nixpacks, Static, Dockerfile or Docker Compose. Nixpacks detects Node and builds it; a Dockerfile gives you full control instead.
Set three things:
- Domain:
https://app.yourdomain.com - Port: the port your app listens on inside the container, for example
3000 - Environment variables: added in the UI, not committed
Your app must listen on 0.0.0.0, not localhost, or the proxy cannot reach it. Click Deploy and watch the build log. (Coolify's docs suggest a smoke test with nginx:alpine first.) When it goes green, enable Auto Deploy: from then on a git push builds and replaces the running container, with rollbacks if a release is bad. The manual route is in deploying a Node app with HTTPS.
Step 8: Add a database
In the same project, choose New Resource and then a database. Coolify offers PostgreSQL, MySQL, MariaDB, MongoDB, Redis, Dragonfly, KeyDB and ClickHouse. Pick PostgreSQL. It generates the credentials and a named Docker volume for the data.
Databases are private by default, which is what you want. Your app reaches it over the internal Docker network using the internal connection URL on the database page. Put that in the app's environment variables and redeploy. Leave public access off. A named volume survives container recreation, but it is not a backup.
Step 9: Backups that leave the server
There are two separate things to protect, and Coolify treats them separately.
The instance. An instance backup covers Coolify's own data: projects, resources, settings and deployment history. It does not include the data inside your databases or volumes. By default it runs once a day at midnight, with retention you can set by count, age or size.
Your databases. Scheduled backups cover PostgreSQL, MySQL, MariaDB, MongoDB and ClickHouse. Redis has no scheduled backups in Coolify, so do not treat a Redis container as durable storage.
Both can send copies to S3-compatible storage. Create the bucket first, then open S3 Storages, enter endpoint, bucket, region and keys, and validate. In the database's backup settings pick that destination, set a schedule, and click Backup Now once. Repeat for the instance backup.
Keep a copy off the server: it is the one that saves you if you lose the account.
Step 10: Updates
Updates touch only the control plane, not your apps. In Settings > Configuration > Updates you can update by hand, with the version shown first, or switch on automatic updates. The default is a daily check at midnight. The dashboard is briefly unavailable during an update, usually under a minute.
Update manually while you learn the tool. First take an instance backup, read the release notes, and check no deployment is running. Upgrade logs live in /data/coolify/source/.
Same box, or a separate server?
Coolify calls its own machine localhost, which shares resources with the dashboard. That is what we built. The docs recommend a separate remote server for production: add it with SSH access and Coolify checks for Docker before deploying. It also supports dedicated build servers that only build images and run nothing.
Start on one Comet. Move apps to a second VPS once builds slow the dashboard or customers depend on what you host: a Coolify sharing RAM with a runaway app can fall over with it.
Verify it works
- Dashboard over HTTPS. Padlock, login prompt.
- Negative control: 8000 is closed.
curl -m 5 http://YOUR_SERVER_IP:8000must fail or time out. A positive control to pair with it:https://coolify.yourdomain.comanswers. - App is live.
https://app.yourdomain.comreturns your app, not a Coolify error page. - Push deploys. Push a visible change; a deployment starts by itself.
- The database is private. From your own machine, the database port must not answer.
- Backups ran. After Backup Now, the file appears in your S3 bucket.
- It survives a reboot.
reboot, wait a minute, load the dashboard and the app.
Troubleshooting
Certificate not issued. dig +short must return your server's IP, ports 80 and 443 must be open, and the domain field must start with https://. Redeploy after changing it.
Build killed or the server crawls. Almost always memory. Check free -m and docker stats; a bigger plan or a build server is the fix.
App deploys but the page shows an error. The port in Coolify does not match the port your app listens on, or the app is bound to localhost inside the container.
Locked out of the dashboard. Use the Step 5 SSH tunnel to reach port 8000.
Do it with an AI agent
Don't paste the article at Claude Code, Cursor or another agent: agents skim warnings and lose ordering. Copy this instead, and run it from your own machine with your agent able to SSH out.
Prompt for an AI agent
Install Coolify on a fresh Ubuntu 24.04 VPS, put the dashboard behind HTTPS on its
own domain, and make sure port 8000 is not left open to the internet.

FILL IN BEFORE YOU START:
- SERVER_IP = <VPS IP from the PrivateByte dashboard>
- DASH_DOMAIN = <e.g. coolify.example.com>
- The Coolify admin account, its password and 2FA are MINE.

WHAT TO DO:
1. FIRST, "dig +short DASH_DOMAIN" must return SERVER_IP. If not, STOP.
2. SSH to root@SERVER_IP. Confirm Ubuntu 24.04 and report "free -m" and "df -h /".
3. apt update && apt upgrade -y. Firewall in THIS ORDER: ufw allow OpenSSH;
   ufw allow 80/tcp; ufw allow 443/tcp; ufw --force enable. Do NOT open 8000,
   6001 or 6002.
4. Run the official installer: curl -fsSL https://cdn.coollabs.io/coolify/install.sh | bash
5. STOP. Tell me to open an SSH tunnel from my machine
   (ssh -L 8000:127.0.0.1:8000 root@SERVER_IP), browse to http://localhost:8000,
   create the admin account, enable 2FA, and connect the local server myself.
   WAIT until I confirm.
6. Tell me to set Settings > Instance's Domain to https://DASH_DOMAIN myself.
   WAIT until I confirm.
7. Tell me to copy /data/coolify/source/.env into my password manager. Do NOT
   print it.

RULES:
- Never create the admin account, never read or print /data/coolify/source/.env,
  never print passwords or tokens.
- Port 8000, 6001 and 6002 must not be reachable from the internet. Do not open
  them to work around anything.
- The ufw ordering is not optional. Never remove the SSH rule.
- Nothing destructive. If /data/coolify already exists, STOP and ask.
- Do not deploy apps, add databases or connect Git. That is mine to do.

VERIFY, AND SHOW ME THE OUTPUT OF EACH:
- "docker ps" -> coolify, coolify-db, coolify-redis, coolify-realtime and coolify-proxy running
- "curl -sI https://DASH_DOMAIN" -> 200 or a redirect to the login page, valid certificate
- THE NEGATIVE CONTROL, from MY machine: "curl -m 5 http://SERVER_IP:8000" ->
  MUST fail or time out. If it answers, stop and report it. Do not "fix" it by
  hiding the symptom.
- "ufw status" -> shows only 22, 80, 443
- reboot, wait 60 s, "docker ps" -> everything back

Do not tell me a step succeeded without showing the command output that proves
it. If a verification fails, stop and report the actual error. Do not retry
silently and do not improvise a workaround, especially around the firewall or
the admin account.
Two things in that prompt are worth stealing. It never lets the agent register the admin account, because the first account owns your server and the agent shouldn't hold that key. And the port 8000 check runs from your machine, since a check run on the server itself proves nothing about what the internet can reach.
For passwords, see Vaultwarden. If you want a lighter, Git-based alternative, Forgejo and its Actions runner can build and ship your code to a server you wire up yourself.
Deploy your VPS
Git-push deploys on your own server, with automatic HTTPS, private databases and scheduled backups.
The Comet plan gives the control plane, your builds and several apps comfortable headroom.
- Unmetered bandwidth, no overage
- Free DDoS protection
- Daily automated backups
- Browser console access
Common questions
How much RAM does Coolify need? The documented minimum is 2 GB, for the dashboard alone. Expect several hundred megabytes of overhead plus build spikes, so we suggest 8 GB.
Can I run Coolify and my apps on the same VPS? Yes, that is the default "localhost" server. It shares resources with the dashboard, so for production Coolify recommends a separate server for your apps.
Is Coolify safe to expose to the internet? Only with care. Register the admin account first, enable two-factor, give the dashboard HTTPS, and close ports 8000, 6001 and 6002. Anyone who controls the dashboard effectively controls the server.
Does Coolify back up my databases? Scheduled backups cover PostgreSQL, MySQL, MariaDB, MongoDB and ClickHouse, with S3-compatible storage as a destination. Redis has none, and the instance backup does not include your app data.
How do I update Coolify? Use Settings > Configuration > Updates, either manually or on a schedule. Back up first and read the release notes.