Pi-hole blocks ads and trackers for every device on your network at the DNS level — no per-device extensions, and it works in apps and on smart TVs where a browser blocker can't reach. Running it on a VPS instead of a Raspberry Pi means it protects your phone on mobile data and your laptop in a coffee shop, not just at home. About 25 minutes, and one security decision that most guides on this topic get badly wrong.
Using an AI coding agent? There's a ready-made prompt at the end of this guide. Copy that instead of this article.
Why a VPS Pi-hole is not the same as a home Pi-hole
At home, Pi-hole sits on your LAN. The only machines that can send it a DNS query are the ones already inside your network, so it doesn't much matter that it answers anything it's asked.
On a VPS, it sits on the public internet. And a DNS server that will answer anyone's question is an open resolver — which is not a minor misconfiguration. Attackers use open resolvers for DNS amplification: they send a small query with your server's address forged as the sender, and your server obligingly fires a much larger reply at somebody else. Your VPS becomes part of somebody's attack, you get abuse reports, and the server gets suspended. This does not take weeks; open resolvers get found by internet-wide scans within hours.
Plenty of "Pi-hole on a VPS" guides tell you to publish port 53 to 0.0.0.0 and never mention any of it.
So this guide never exposes anything. Pi-hole listens only on a WireGuard interface. Your devices reach it through the VPN, and from the public internet the DNS port simply isn't there. That has a pleasant side effect: no domain, no certificates and no reverse proxy in this tutorial, because nothing is public. The admin panel is private too.
What you'll need
- A PrivateByte VPS with WireGuard already running. Our guide to setting up a WireGuard VPN server is the prerequisite, and this article assumes its layout: the VPN is
10.8.0.0/24and the server is10.8.0.1. - The Flare plan ($5.99/mo: 1 vCPU, 2 GB RAM, 25 GB SSD) is plenty — Pi-hole is very light, and it can share the same server as WireGuard.
- About 25 minutes. Every command is copy-paste.
No domain name is needed for this one, unlike most of our self-hosting guides. Nothing here is published to the internet.
Step 1: Confirm WireGuard is up
Everything below binds to the VPN interface, so it has to exist first:
ip -brief addr show wg0You want to see wg0 with 10.8.0.1/24. If that errors, go and do the WireGuard guide first — nothing after this point will work without it.
Check a client can reach the server privately, with the VPN connected on your phone or laptop:
ping -c 3 10.8.0.1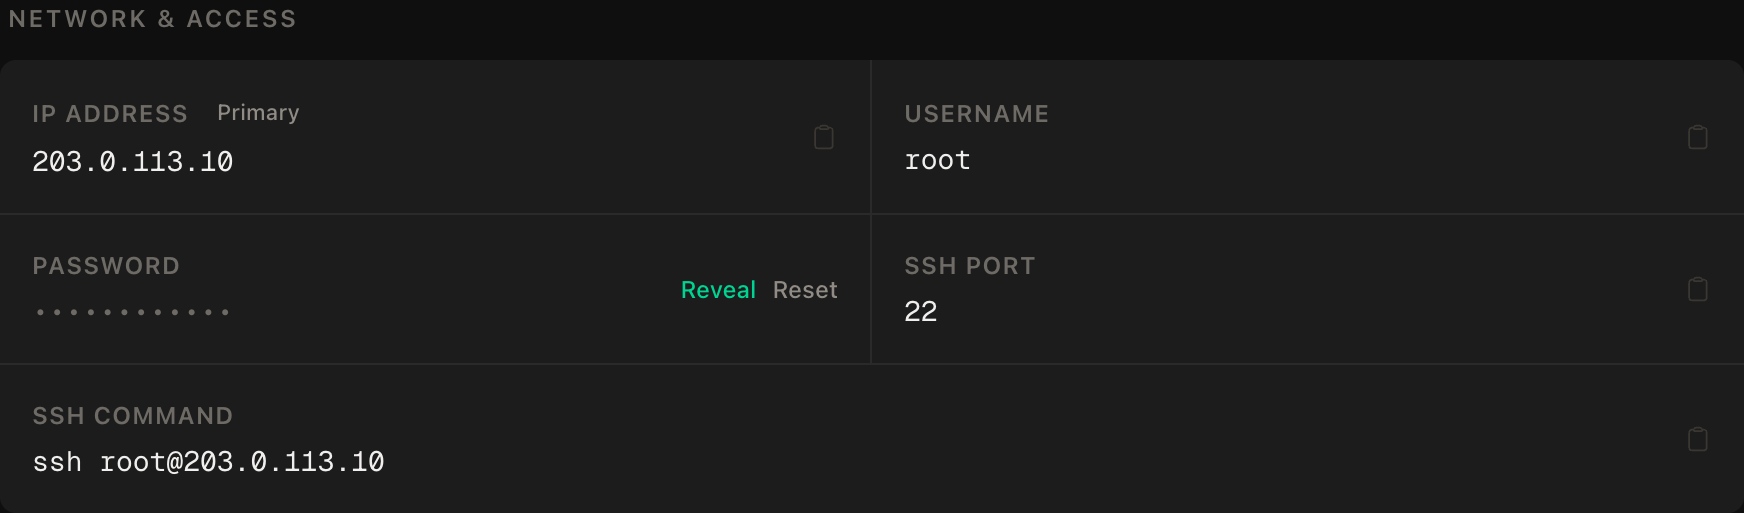
ssh command.Step 2: Free up port 53
Ubuntu runs systemd-resolved, which is already listening on port 53. Pi-hole cannot start until it stops.
This is the step to do carefully, because the obvious version of it leaves the server itself with no working DNS, and then apt stops working and the cause is not obvious.
mkdir -p /etc/systemd/resolved.conf.d
nano /etc/systemd/resolved.conf.d/pihole.conf
[Resolve]
DNSStubListener=no
DNS=1.1.1.1 1.0.0.1That turns off the listener on port 53 but keeps systemd-resolved itself resolving, using Cloudflare upstream. Now point the system's resolver file at the real thing rather than the stub, and restart:
ln -sf /run/systemd/resolve/resolv.conf /etc/resolv.conf
systemctl restart systemd-resolvedVerify both halves before moving on, because getting this wrong is the one thing in this guide that's annoying to recover from:
ss -tulnp | grep ':53 ' || echo "port 53 is free"
getent hosts github.comThe first must show nothing on port 53. The second must return an address — that's the proof the server can still resolve names. If it can't, undo the symlink change and restart systemd-resolved before going further.
Step 3: Install Docker
apt update && apt upgrade -y
curl -fsSL https://get.docker.com | sh
systemctl enable --now docker
docker --versionIf apt update fails here, Step 2's DNS check was not actually passing. Go back.
Step 4: Write the configuration
mkdir -p ~/pihole && cd ~/pihole
nano docker-compose.ymlservices:
pihole:
image: pihole/pihole:latest
restart: unless-stopped
ports:
- "10.8.0.1:53:53/tcp"
- "10.8.0.1:53:53/udp"
- "10.8.0.1:80:80/tcp"
environment:
TZ: 'Europe/London'
FTLCONF_webserver_api_password: 'CHANGE_ME_TO_A_STRONG_PASSWORD'
FTLCONF_dns_listeningMode: 'ALL'
volumes:
- ./etc-pihole:/etc/piholeThree things in there are load-bearing.
The 10.8.0.1: prefix on every port is the whole security model. Without it, Docker publishes to 0.0.0.0 — every interface, including the public one — and you have built the open resolver described at the top of this guide. With it, the ports exist only on the VPN interface. This is one of the rare cases where leaving out four characters turns a safe setup into an abusable one, and it is worth re-reading that block before you continue.
FTLCONF_webserver_api_password is the current variable name. Older guides say WEBPASSWORD. That was replaced, and the old name is now simply ignored — you'd finish the install and find you can't log in, with nothing explaining why. Generate something real:
openssl rand -base64 24FTLCONF_dns_listeningMode: 'ALL' is required on Docker's bridge network. Queries arrive from the Docker bridge rather than from what Pi-hole considers a local subnet, and without this it refuses to answer them — which looks exactly like DNS being broken.
Step 5: Start it
docker compose up -d
docker compose ps
docker compose logs pihole | tail -20Then confirm it is listening where you intended, and only there:
ss -tulnp | grep ':53 'Every line should show 10.8.0.1:53. If you see 0.0.0.0:53, stop and fix the ports: block before you do anything else.
Step 6: Point your VPN clients at it
Pi-hole only blocks for devices that actually ask it. On each WireGuard client config, add a DNS line in the [Interface] section:
[Interface]
PrivateKey = <your client private key>
Address = 10.8.0.2/32
DNS = 10.8.0.1Reconnect the client after saving.
AllowedIPs matters here. If your client config uses AllowedIPs = 0.0.0.0/0, everything already routes through the tunnel and you're done. If you narrowed it to 10.8.0.0/24 to only reach the server's private network, DNS still works — the queries go to 10.8.0.1 over the tunnel — but only your DNS is going through the VPN, not your traffic. That's a legitimate setup and it's worth knowing which one you have.
Verify it works
Three checks, and the third is the one that matters most.
One: Pi-hole answers over the VPN. With the VPN connected, from your own machine:
dig @10.8.0.1 example.com +shortAn address means DNS is working through the tunnel.
Two: it actually blocks. Query a domain that's on the blocklist:
dig @10.8.0.1 doubleclick.net +shortThat should return 0.0.0.0 or nothing at all, rather than a real address. Then open the admin panel at http://10.8.0.1/admin — reachable only over the VPN — and watch the queries appear.
Three, the negative control: it must NOT answer from the public internet. Disconnect the VPN, then from your own machine run:
dig @YOUR_SERVER_PUBLIC_IP example.com +shortThis must time out or be refused. A timeout is the healthy, correct result — it means your DNS port is not exposed. If it returns an address, you have an open resolver on the public internet: go back to Step 4, fix the ports: bindings, recreate the container, and test again before leaving it running.
That pair is the point. Check two alone proves DNS works; only check three proves you haven't built something that will get your server suspended. A test that passes either way tells you nothing.
Finally, reboot:
rebootWait two minutes, reconnect the VPN, and confirm blocking still works. This one is worth doing deliberately: Docker can start before WireGuard does, and a container that publishes to 10.8.0.1 cannot bind while wg0 doesn't exist yet. restart: unless-stopped retries until the interface appears, so it recovers on its own — but you want to have seen it recover rather than assume it.
Troubleshooting
docker compose up fails with "address already in use". Something still holds port 53 — almost always systemd-resolved. Re-run the check from Step 2. Note this is a different error from "cannot assign requested address", which means wg0 is down and there is no 10.8.0.1 to bind to.
Devices connect to the VPN but ads still appear. The client isn't using Pi-hole for DNS. Confirm the DNS = 10.8.0.1 line is in the client's [Interface] section and that you reconnected. Some phones also need "Private DNS" turned off in system settings — that's DNS-over-TLS to a third party, and it bypasses Pi-hole entirely.
Nothing resolves at all once the VPN is connected. Pi-hole is up but not answering, or the DNS line points somewhere wrong. Check docker compose ps, then dig @10.8.0.1 example.com from a connected client. If Pi-hole answers there but the device still fails, the device is caching — toggle the VPN off and on.
The admin page won't load. It is deliberately not public. http://10.8.0.1/admin works only with the VPN connected. If you're connected and it still fails, check the 10.8.0.1:80:80 line is present in your ports: block.
You can't log in to the admin panel. You set WEBPASSWORD instead of FTLCONF_webserver_api_password. Fix the variable name and run docker compose up -d to recreate the container — restart will not pick up a changed environment variable.
A site you need is broken. Some sites break when a tracker domain they depend on is blocked. Find the domain in the query log, whitelist it in Domains → Add to allowlist, and reload. Fixing one domain is better than turning blocking off.
The server itself has no internet after Step 2. The /etc/resolv.conf symlink is wrong. Point it at /run/systemd/resolve/resolv.conf and restart systemd-resolved. Until that's right, apt and docker pull will both fail with confusing name-resolution errors.
Do it with an AI agent
If you'd rather hand this to Claude Code, Cursor, or another coding agent, don't paste the article at it. Articles are written for humans, and agents skim the warnings and lose the ordering. Copy this instead, and run it from your own machine with your agent able to SSH out.
Prompt for an AI agent
Set up Pi-hole on a VPS that is ALREADY running WireGuard, so that it is
reachable only over the VPN and never from the public internet.
FILL IN BEFORE YOU START:
- SERVER_IP = <VPS public IP from the PrivateByte dashboard>
- VPN_IP = <the server's WireGuard address, 10.8.0.1 in our guide>
- TIMEZONE = <IANA name, e.g. Europe/London>
THE ONE RULE THAT MATTERS MORE THAN THE REST:
Pi-hole must NEVER be published on 0.0.0.0. Every published port must be bound
to VPN_IP explicitly. A DNS resolver open to the public internet is used for DNS
amplification attacks within hours, generates abuse reports, and gets the server
suspended. If you cannot bind to VPN_IP, STOP and tell me — do not fall back to
publishing on all interfaces.
WHAT TO DO:
1. SSH to root@SERVER_IP. Confirm Ubuntu 24.04.
2. Run "ip -brief addr show wg0" and confirm VPN_IP is present. If wg0 does not
exist, STOP — WireGuard is a prerequisite and nothing below will work.
3. Free port 53 from systemd-resolved:
- create /etc/systemd/resolved.conf.d/pihole.conf with
[Resolve]
DNSStubListener=no
DNS=1.1.1.1 1.0.0.1
- ln -sf /run/systemd/resolve/resolv.conf /etc/resolv.conf
- systemctl restart systemd-resolved
THEN IMMEDIATELY verify the server can still resolve names with
"getent hosts github.com". If it cannot, revert and tell me — with DNS broken,
apt and docker pull both fail with misleading errors.
4. Install Docker from https://get.docker.com and enable it.
5. Create ~/pihole/docker-compose.yml with one service, pihole/pihole:latest,
restart: unless-stopped, volume ./etc-pihole:/etc/pihole, and ports bound
EXPLICITLY to VPN_IP:
"VPN_IP:53:53/tcp", "VPN_IP:53:53/udp", "VPN_IP:80:80/tcp"
Environment: TZ=TIMEZONE, FTLCONF_dns_listeningMode='ALL', and
FTLCONF_webserver_api_password set to a password you generate with
"openssl rand -base64 24".
Use FTLCONF_webserver_api_password, NOT WEBPASSWORD. The old name was replaced
and is now silently ignored, which produces an install I cannot log in to.
FTLCONF_dns_listeningMode='ALL' is required on Docker's bridge network or
Pi-hole refuses queries that arrive from the bridge.
6. docker compose up -d
7. Show me the generated admin password ONCE and tell me to save it.
RULES:
- Do not modify /etc/wireguard/wg0.conf or restart WireGuard. Breaking the VPN
while I am connected over it may cut off my own access.
- Do not add, remove or edit any ufw rules. The VPN and SSH already work.
- Do not add blocklists, allowlists or clients. Those are mine to configure.
- Nothing destructive. If ~/pihole exists or a pihole container is running, STOP
and ask.
VERIFY, AND SHOW ME THE OUTPUT OF EACH:
- "getent hosts github.com" on the server -> resolves, proving Step 3 did not
break the server's own DNS
- "docker compose ps" -> running
- "ss -tulnp | grep ':53 '" -> EVERY line shows VPN_IP:53. If any line shows
0.0.0.0:53, stop immediately and tell me, that is the open-resolver failure.
- with my VPN connected, "dig @VPN_IP example.com +short" -> an address
- with my VPN connected, "dig @VPN_IP doubleclick.net +short" -> 0.0.0.0 or
empty, proving blocking is active
- THE NEGATIVE CONTROL, and I must run this from MY machine with the VPN
DISCONNECTED: "dig @SERVER_IP example.com +short"
-> this MUST time out or be refused. If it returns an address, the DNS port is
exposed to the internet. Stop everything and tell me.
- reboot, wait 120 seconds, reconnect the VPN, then repeat the blocking check.
Docker can start before WireGuard, so the container may fail to bind on first
attempt and recover; confirm it actually did.
Do not tell me a step succeeded without showing the command output that proves
it. If a verification fails, stop and report the actual error. Do not retry
silently and do not improvise a workaround — in particular, never "fix" a bind
failure by publishing on all interfaces.Two things in that prompt are worth stealing for your own agent work. It names the one unacceptable outcome up front and forbids the specific workaround an agent would otherwise reach for — publishing on 0.0.0.0 is exactly what a helpful assistant does when a bind to a missing interface fails, and it converts a broken install into an abusable one. And it pairs the "it works" check with a "it must fail from outside" check, because only the second one can tell the difference between a private DNS server and a public one.
Deploy your VPS
Pi-hole behind WireGuard is one of the better things you can do with a cheap server: ad and tracker blocking on every device you own, anywhere you are, including the apps and smart TVs a browser extension can never touch.
The Flare plan runs both WireGuard and Pi-hole on the same $5.99 server without noticing either.
- Unmetered bandwidth, no overage
- Free DDoS protection
- Daily automated backups
- Browser console access
Common questions
Why not just run Pi-hole at home on a Raspberry Pi? If you only care about devices on your home network, do exactly that — it's cheaper and it's the classic setup. A VPS earns its place when you want the same blocking on your phone over mobile data and your laptop on someone else's wifi, which a home Pi-hole can't reach without a VPN anyway. And if you're adding a VPN regardless, the server may as well be the thing hosting it.
Do I have to use WireGuard? Can't I just firewall port 53 to my home IP? You can, and it's meaningfully safer than leaving it open. But home IPs change, and it does nothing for your phone on mobile data or any network you travel to. The VPN solves both, and it's the reason this guide treats it as a prerequisite rather than an option.
Does this slow my browsing down? Usually the opposite. Blocked requests fail instantly instead of loading, so ad-heavy pages often feel faster. You do add the VPN's round trip to each lookup, so pick a server region near where you actually are.
What happens if the VPS goes down? Devices pointed at it lose DNS, which looks like the internet being broken. Setting a second DNS server in the client config helps but weakens blocking, since the device may use whichever answers first. If uptime matters to you, monitoring the server from somewhere else — so you find out before your family does — is worth the twenty minutes.
Can I use it for my whole household? Yes — either give each device its own WireGuard config, or set your home router's DNS to the Pi-hole and route the router itself through the VPN. The second covers every device on the LAN at once, including ones that can't run a VPN client.