A dedicated Terraria server keeps your world up when the host goes to bed, lets friends drop in whenever they like, and costs less than a sandwich a month — Terraria's server is light enough for the smallest VPS. This guide installs the official server in about 15 minutes, with the one detail that decides whether your world survives a restart.
Using an AI coding agent? There's a ready-made prompt at the end of this guide. Copy that instead of this article.
The detail that saves your world
Terraria's server is interactive: it reads commands from its console, and typing exit is what saves the world before quitting. If you run it as a plain background service, every restart or reboot kills it mid-flight — no save, and whatever your friends built since the last autosave is gone.
So this guide runs the server inside tmux (a terminal that keeps running after you disconnect), started by systemd, and tells systemd to type exit into it on shutdown. Your world saves every time, and you can still attach to the console whenever you want to run a command.
What you'll need
- A PrivateByte VPS. The Flare plan ($5.99/mo: 1 vCPU, 2 GB RAM, 25 GB SSD) runs a small or medium world with a handful of players comfortably.
- Terraria for you and your friends (PC).
- About 15 minutes. Every command is copy-paste.
Step 1: Deploy your VPS
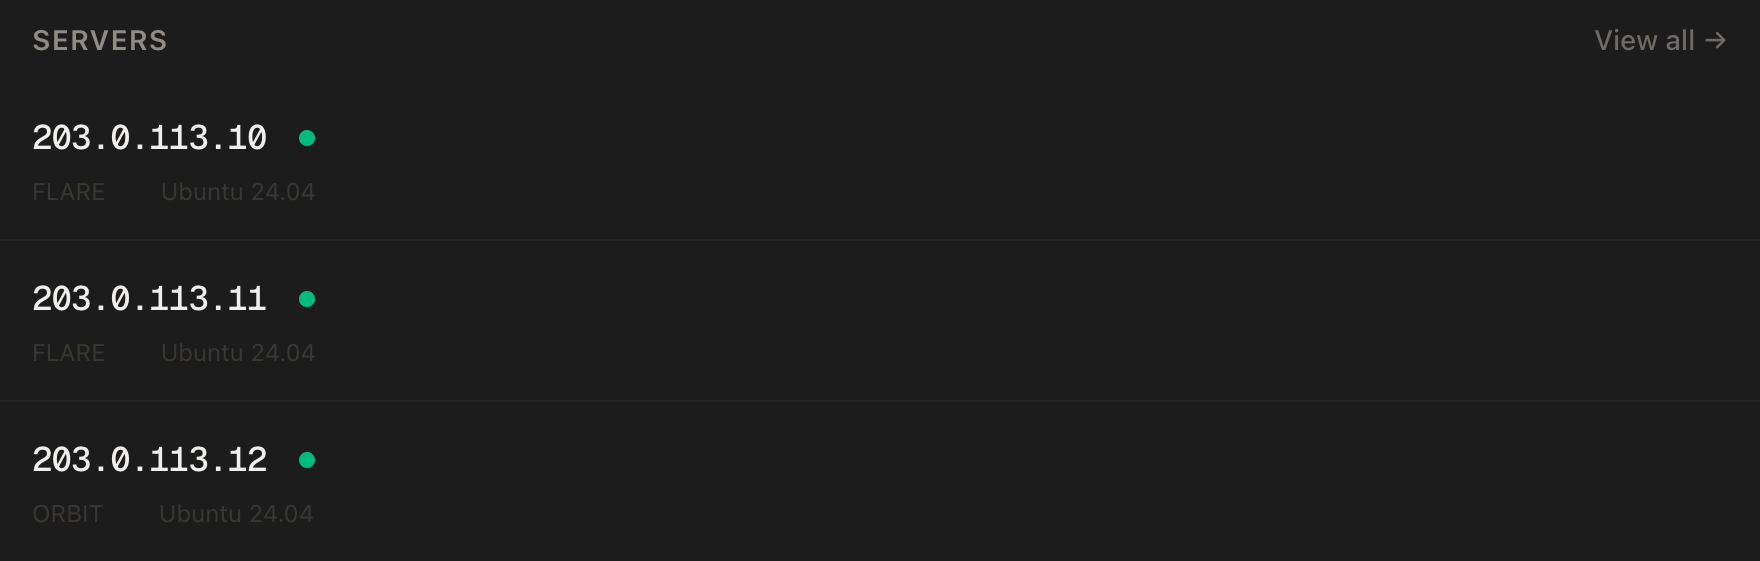
In the PrivateByte dashboard, open the store, choose Flare, pick Ubuntu 24.04, and deploy. Ready in a few minutes. Pick the region closest to your players.
Step 2: Connect, firewall, and a user for the server
ssh root@YOUR_SERVER_IP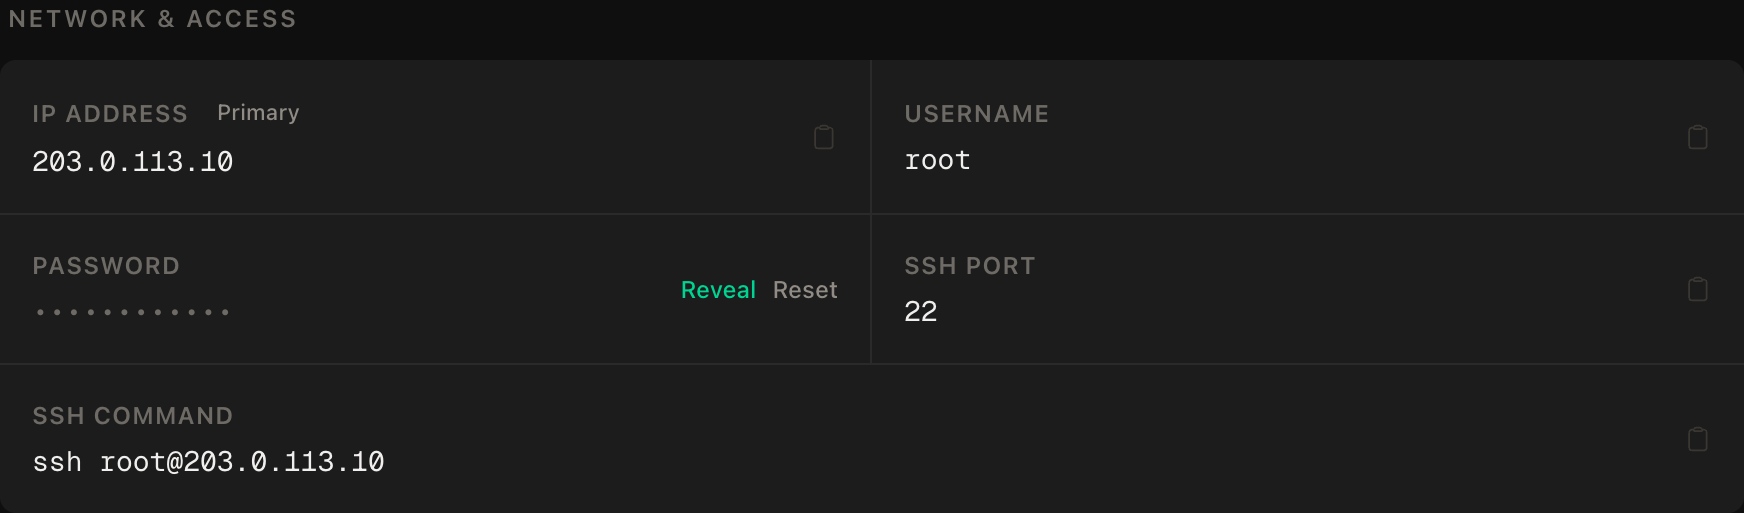
ssh command.SSH first, then the game port, then enable:
apt update && apt upgrade -y
apt install -y unzip tmux
ufw allow OpenSSH
ufw allow 7777/tcp
ufw --force enable
adduser --disabled-password --gecos "" terraria
Terraria uses TCP 7777 — unusually for a game. The terraria user has no password and no sudo; the server never runs as root.
Step 3: Download the official server
On terraria.org, scroll to the footer and copy the link for PC Dedicated Server — it ends in terraria-server-XXXX.zip, where the number is the current version. Then, as root:
cd /tmp
wget -O terraria-server.zip "PASTE_THE_LINK_HERE"
unzip -q terraria-server.zip
ls
You'll see a folder named after the version (for example 1458). Copy its Linux build into place:
mkdir -p /opt/terraria
cp -r /tmp/1458/Linux/* /opt/terraria/
chmod +x /opt/terraria/TerrariaServer.bin.x86_64
chown -R terraria:terraria /opt/terraria
Swap 1458 for whatever folder name ls showed.
Step 4: The config file
su - terraria
mkdir -p ~/worlds
nano ~/serverconfig.txtworldpath=/home/terraria/worlds
world=/home/terraria/worlds/MyWorld.wld
worldname=MyWorld
autocreate=2
maxplayers=8
port=7777
password=CHANGE_ME
motd=Welcome!autocreate=2 makes a medium world on first start if MyWorld.wld doesn't exist yet (1 is small, 3 is large). Change the password — it's what friends type to join. Type exit to go back to root.
Step 5: Run it as a service — with a safe shutdown
As root:
nano /etc/systemd/system/terraria.service[Unit]
Description=Terraria server
After=network-online.target
[Service]
User=terraria
Type=forking
WorkingDirectory=/opt/terraria
ExecStart=/usr/bin/tmux new-session -d -s terraria "/opt/terraria/TerrariaServer.bin.x86_64 -config /home/terraria/serverconfig.txt"
ExecStop=/usr/bin/tmux send-keys -t terraria "exit" Enter
ExecStop=/bin/sleep 15
Restart=on-failure
[Install]
WantedBy=multi-user.targetsystemctl daemon-reload
systemctl enable --now terrariaThe two ExecStop lines are the whole trick: type exit into the server's console, then give it 15 seconds to save before systemd moves on.
First start generates the world — a minute or two. Then in Terraria: Multiplayer → Join via IP, enter your server's IP, port 7777, and the password.
Verify it works
You can join. Connect, place a block somewhere memorable.
It saves on restart — the check that matters. As root:
systemctl restart terrariaRejoin after a minute. Your block must still be there. If it isn't, the exit didn't reach the console — see Troubleshooting.
The console is reachable. As the terraria user: su - terraria -c "tmux attach -t terraria". You're in the live console; type help for commands. Detach with Ctrl+B, then D — not Ctrl+C, which would stop the server.
The negative control: nothing else is listening. From your own machine:
nc -zv -w 5 YOUR_SERVER_IP 7778This must fail — only 7777 should be open. Then nc -zv -w 5 YOUR_SERVER_IP 7777 should succeed, proving the test itself works.
It survives a reboot. reboot, wait two minutes, rejoin.
Troubleshooting
systemctl status terraria says active but you can't connect. The world is still generating on first start. Attach to the console and watch it finish.
Friends time out. ufw status must show 7777/tcp. Terraria is TCP, not UDP — a UDP rule does nothing.
The world reset after a restart. The world= path doesn't match where the world was created, so autocreate made a new one. ls ~/worlds as the terraria user; point world= at the file that's there.
Ctrl+C killed the server. Ctrl+C inside tmux stops the program. Start it again with systemctl start terraria, and next time detach with Ctrl+B then D.
New Terraria version, friends can't join. Client and server versions must match. Download the new server zip, copy it over /opt/terraria the same way, systemctl restart terraria. Worlds are untouched.
Do it with an AI agent
If you'd rather hand this to Claude Code, Cursor, or another coding agent, don't paste the article at it. Articles are written for humans, and agents skim the warnings and lose the ordering. Copy this instead, and run it from your own machine with your agent able to SSH out.
Prompt for an AI agent
Set up the official Terraria dedicated server on a fresh Ubuntu 24.04 VPS,
running as an unprivileged user inside tmux under systemd, with a shutdown
that saves the world.

FILL IN BEFORE YOU START:
- SERVER_IP  = <VPS IP from the PrivateByte dashboard>
- SERVER_ZIP = <the current "PC Dedicated Server" link from terraria.org>
- The server password is MINE. You never see it.

WHAT TO DO:
1. SSH to root@SERVER_IP. Confirm Ubuntu 24.04.
2. apt update && apt upgrade -y; apt install -y unzip tmux.
3. Firewall, in THIS EXACT ORDER: ufw allow OpenSSH; ufw allow 7777/tcp;
   ufw --force enable.
4. adduser --disabled-password --gecos "" terraria (no sudo).
5. Download SERVER_ZIP to /tmp, unzip, copy the <version>/Linux/ contents to
   /opt/terraria, chmod +x TerrariaServer.bin.x86_64, chown -R terraria.
6. Write /home/terraria/serverconfig.txt (owned by terraria) with
   worldpath=/home/terraria/worlds, world=/home/terraria/worlds/MyWorld.wld,
   worldname=MyWorld, autocreate=2, maxplayers=8, port=7777,
   password=CHANGE_ME, motd=Welcome!. Create ~/worlds.
7. STOP and tell me to set the password myself. WAIT for confirmation.
8. /etc/systemd/system/terraria.service: User=terraria, Type=forking,
   ExecStart=/usr/bin/tmux new-session -d -s terraria
   "/opt/terraria/TerrariaServer.bin.x86_64 -config /home/terraria/serverconfig.txt",
   ExecStop=/usr/bin/tmux send-keys -t terraria "exit" Enter,
   ExecStop=/bin/sleep 15, Restart=on-failure. daemon-reload, enable --now.

RULES:
- Never print or cat serverconfig.txt after I edit it.
- The ufw ordering is not optional.
- The server must never run as root.
- The ExecStop "exit" line is what saves the world. Do not replace it with a
  plain kill or remove the sleep.
- Nothing destructive. If /opt/terraria or /home/terraria/worlds has contents,
  STOP and ask — those are the worlds.

VERIFY, AND SHOW ME THE OUTPUT OF EACH:
- "systemctl status terraria" -> active
- "ss -tlnp | grep 7777" -> listening (after world generation finishes)
- I join and place a block; then "systemctl restart terraria"; I rejoin and
  confirm the block survived. This is the save test.
- THE NEGATIVE CONTROL, from MY machine: "nc -zv -w 5 SERVER_IP 7778" MUST
  fail, and "nc -zv -w 5 SERVER_IP 7777" MUST succeed.
- reboot, wait 120 s, "systemctl status terraria" -> active

Do not tell me a step succeeded without showing the command output that proves
it. If a verification fails, stop and report the actual error. Do not retry
silently and do not improvise a workaround.
Two things in that prompt are worth stealing for your own agent work. The save test is a round trip through a restart, because "the service is active" says nothing about whether the world survives stopping it. And the negative control is paired with a positive one on the port that should be open — a probe that fails on both tells you the probe is broken, not the server.
The same "keep a console alive and shut down politely" problem shows up in Minecraft, and Valheim is the Docker take on a survival server.
Deploy your VPS
A Terraria world that's always on for the group, saves itself every time it stops, and costs almost nothing — the easiest game server to justify.
The Flare plan is plenty for a small or medium world.
- Unmetered bandwidth, no overage
- Free DDoS protection
- Daily automated backups
- Browser console access
Common questions
Is Flare really enough? For a small or medium world and a handful of players, yes — Terraria's server is light. Large worlds, lots of players or heavy mods (tModLoader) are when to look at Orbit.
Can I use my existing world?
Yes. Copy your .wld file from your PC's Terraria worlds folder into /home/terraria/worlds/, set world= to it, and restart. Keep the original as a backup.
How do I run admin commands?
Attach to the console (su - terraria -c "tmux attach -t terraria") and type them — kick, ban, save, say. Detach with Ctrl+B then D.
Does this work with tModLoader? tModLoader has its own server build and mod-sync steps, so it's a different install. The tmux-plus-safe-shutdown pattern from this guide carries straight over.
How do I back up the world?
The world is the .wld file in ~/worlds. PrivateByte's daily server backups cover it; for your own copy, scp it down now and then, or after a big build.