


How to Stop Your Windows VPS Administrator Account from Locking (RDP Lockout Fix)
Overview
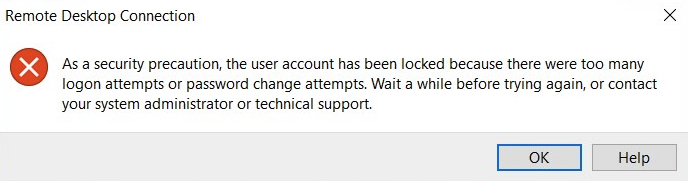
Some users may find their Windows VPS Administrator account becomes locked, even if they haven’t entered the wrong password.
This happens because automated bots continuously try to log in through RDP (port 3389). When Windows detects enough failed login attempts, it automatically locks the Administrator account.
Affected Windows Versions
This issue primarily affects Windows Server 2025 and sometimes Windows Server 2022, due to Microsoft’s newer security defaults.
| Windows Version | Default Lockout Policy | Issue Seen? | Notes |
|---|---|---|---|
| Windows Server 2025 | Enabled (10 failed attempts → lockout) | ✅ Very common | New 24H2 kernel with stricter security |
| Windows Server 2022 | Sometimes enabled | ⚠️ Occasional | May inherit new security templates |
| Windows Server 2019 | Disabled by default | ❌ Rare | Older relaxed policies |
Starting with Windows Server 2025, Microsoft introduced automatic account lockout rules to reduce brute-force attacks, which frequently impacts VPS users with publicly accessible RDP.
Step 1: Disable Account Lockout Policy (Fastest Fix)
To prevent your Administrator account from locking:
- Log in via RDP or VNC.
- Press Windows + R → type secpol.msc and press Enter.
- Go to Account Policies → Account Lockout Policy.
- Set:
- Account lockout duration: 0
- Account lockout threshold: 0
- Reset account lockout counter: 0
- Click Apply → OK.
This stops lockouts entirely — but bots will still attempt logins. Continue with steps below to secure RDP properly.
Step 2: Restrict RDP to Your IP (Recommended)
Blocking all other IP addresses removes 99% of login attempts. Run this in PowerShell (Admin), replacing x.x.x.x with your IP:
New-NetFirewallRule -DisplayName "Block RDP from others" -Direction Inbound -Protocol TCP -LocalPort 3389 -RemoteAddress Any -Action Block
Important: Add the allow rule first, or you may disconnect yourself.
Step 3: Enable Network Level Authentication (NLA)
NLA forces credential verification before starting an RDP session. Run:
Restart-Service TermService -Force
Step 4: (Optional but Recommended) Change the Default RDP Port
Changing the RDP port greatly reduces automated bot traffic. This is the updated, client-friendly method.
1. Choose a New Port
Pick any unused port between 1024–65535, such as 50000 or 60000.
2. Change the Port in the Registry
- Press Windows + R → regedit
- Navigate to:
HKEY_LOCAL_MACHINE\System\CurrentControlSet\Control\Terminal Server\WinStations\RDP-Tcp - Open PortNumber
- Select Decimal
- Enter your new port number
3. Add a Firewall Rule for the New Port
Replace [PORT] and x.x.x.x with your chosen port and IP.
4. Disable the Old 3389 Rule (Recommended)
Disable:
Remote Desktop (TCP-In)
5. Restart RDP Service
6. Connect Using the New Port
Use:
SERVER_IP:PORT
Example:
123.45.67.89:50000
Summary
- Windows Server 2025 includes new lockout rules that commonly cause RDP access issues.
- Disable the lockout policy to stop the Administrator account from freezing.
- Restrict RDP to your IP to eliminate brute-force attempts.
- Enable NLA for improved security.
- Optionally change the RDP port for reduced bot traffic.
Need Help?
If you want PrivateByte to apply these security settings or fully harden your VPS, contact us:
Email: [email protected]
Telegram: @PrivateByteSupport
